
Get ready to celebrate the holiday season in style by knitting your very own Christmas jumper. Whether you’re a seasoned knitter or a beginner, this project is relatively simple and can be customized to your own personal style. Gather your materials, including knitting needles, yarn, scissors, and a tapestry needle, and follow the step-by-step instructions to create a festive garment that you can wear or gift to a loved one. From casting on your stitches and shaping the neckline to adding embellishments and finishing off, this guide will walk you through the process of knitting a Christmas jumper with ease. With a little bit of patience and practice, you’ll be well on your way to creating your own festive knitwear. Happy knitting!
Get ready, time to make your bespoke Christmas Jumper!
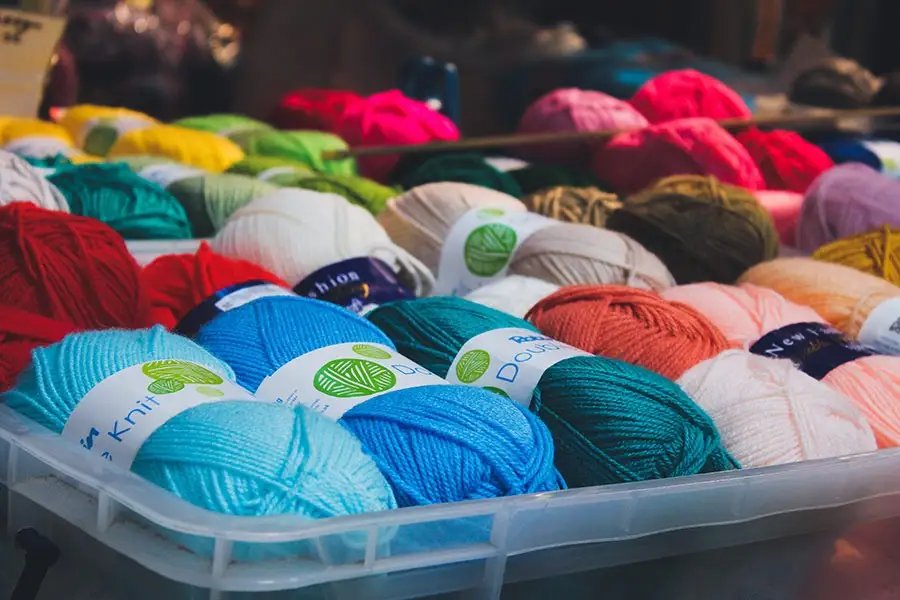
1. Gather your materials. You will need knitting needles, yarn (preferably a festive color such as red or green), scissors, and a tapestry needle. If you are a beginner, it is recommended to use thicker needles and yarn to make the project easier.
2. Determine the size of your jumper. Measure your chest and add a few inches to allow for ease of movement. You can use a knitting calculator or pattern to help you determine the number of stitches to cast on.
3. Cast on your stitches. Use the long-tail cast-on method, which creates a neat edge and is easy to learn. To do this, make a slip knot on one needle and hold it in your left hand. Take the other needle in your right hand and pass it through the loop, wrapping the yarn around it. Pull the yarn through the loop and repeat until you have the required number of stitches.
4. Knit the body of the jumper. Once you have cast on your stitches, it’s time to start knitting. Begin with a knit row, then follow with a purl row. This creates a simple pattern called “stockinette stitch”, which is a smooth and even fabric that is ideal for clothing.
5. Shape the neckline. Once you have reached the desired length of the body, it’s time to start shaping the neckline. To do this, you will need to decrease stitches on every other row until you reach the desired width. To decrease, simply knit two stitches together as one.
6. Knit the sleeves. Once you have finished the body, it’s time to move on to the sleeves. Cast on the required number of stitches and work in the same way as the body, knitting a row and purling a row to create the stockinette stitch. Remember to shape the sleeves by decreasing stitches at the top to create the shoulder.

7. Add embellishments. This is the fun part! You can add any number of embellishments to your Christmas jumper to make it unique. Some ideas include:
- Adding a pattern or design using a different color of yarn
- Knitting a Christmas tree or snowflakes onto the front of the jumper
- Adding a ribbed collar or cuffs for a more traditional look
- Adding buttons or beads for a festive touch
8. Finish off. Once you have completed all of the knitting, it’s time to finish off your jumper. Weave in any loose ends and sew up any gaps using the tapestry needle. You can then try on your jumper and make any adjustments if needed.
9. Enjoy your new Christmas jumper! You can wear it as part of your holiday outfit or give it as a gift to a loved one. Either way, you can be proud of the fact that you created it yourself.
There are many resources available online that can help you learn more about knitting and specifically how to knit a Christmas jumper.
Here are a few ideas for where you can find additional information and guidance:
1. YouTube: There are many knitting tutorials available on YouTube that can help you learn the basics of knitting or guide you through specific projects like a Christmas jumper. You can find tutorials for a variety of skill levels and techniques.
2. Knitting blogs and websites: There are many websites and blogs dedicated to knitting that can provide valuable information and inspiration for your projects. These can be a great resource for finding patterns, tutorials, and tips for successful knitting.
3. Local knitting groups or classes: Consider joining a local knitting group or taking a knitting class to learn from experienced knitters and get hands-on guidance. Many communities have knitting groups that meet regularly to work on projects and share tips and techniques.
4. Books and magazines: There are many books and magazines available that cover a wide range of knitting topics, including how to knit a Christmas jumper. These can be a great resource for finding patterns and learning more about different knitting techniques.
5. Online knitting communities: There are many online communities where knitters share their projects, ask questions, and get feedback from other experienced knitters. These can be a great resource for finding patterns and getting guidance on specific techniques or problems you may encounter while knitting.
I hope this guide has helped you understand how to knit a Christmas jumper. With a little bit of patience and practice, you will be well on your way to creating your own festive knitwear. Happy knitting!